Electric Heat Treat Oven Build
BMKT Heat Treat Oven, 3600W, 15A
Like most new makers, I have been using my 2 brick forge to heat treat high carbon steels and sending out for stainless (knifemaker.ca). This has worked great, but I have known for awhile that in order to get to the next level, I would need to have my own electric heat treat oven. This would give me the ability to heat treat multiple blades at once (efficiency), increase consistency (quality), and experiment with new steels (value).
I took a look at the popular Evenheat ovens. The KF18 model stood out because it would allow me to do larger blades, and 6 at once. I emailed around to get a few quotes from suppliers in Canada, and a KF18 with RampMaster control would put me around $2600 to my door. I am a believer in the adage "by once, cry once", but $2600 is not just crying, it's weeping. So I continued looking around. (Please note, I don't discount or doubt that they are worth every penny.)
Chamber Mockup
I found some makers who had made their own ovens. Specifically, a blog post from DCKnives where he details his build thoroughly. I figured I could probably make my own. I have the required tools, skills and could source the components easily enough. But, because I am a part-time maker, building my own would take away from my knife making time... Did I want to be a kiln maker or a knife maker? After a few more months of wavering between buy vs build, I ordered 36 IFB and didn't look back.
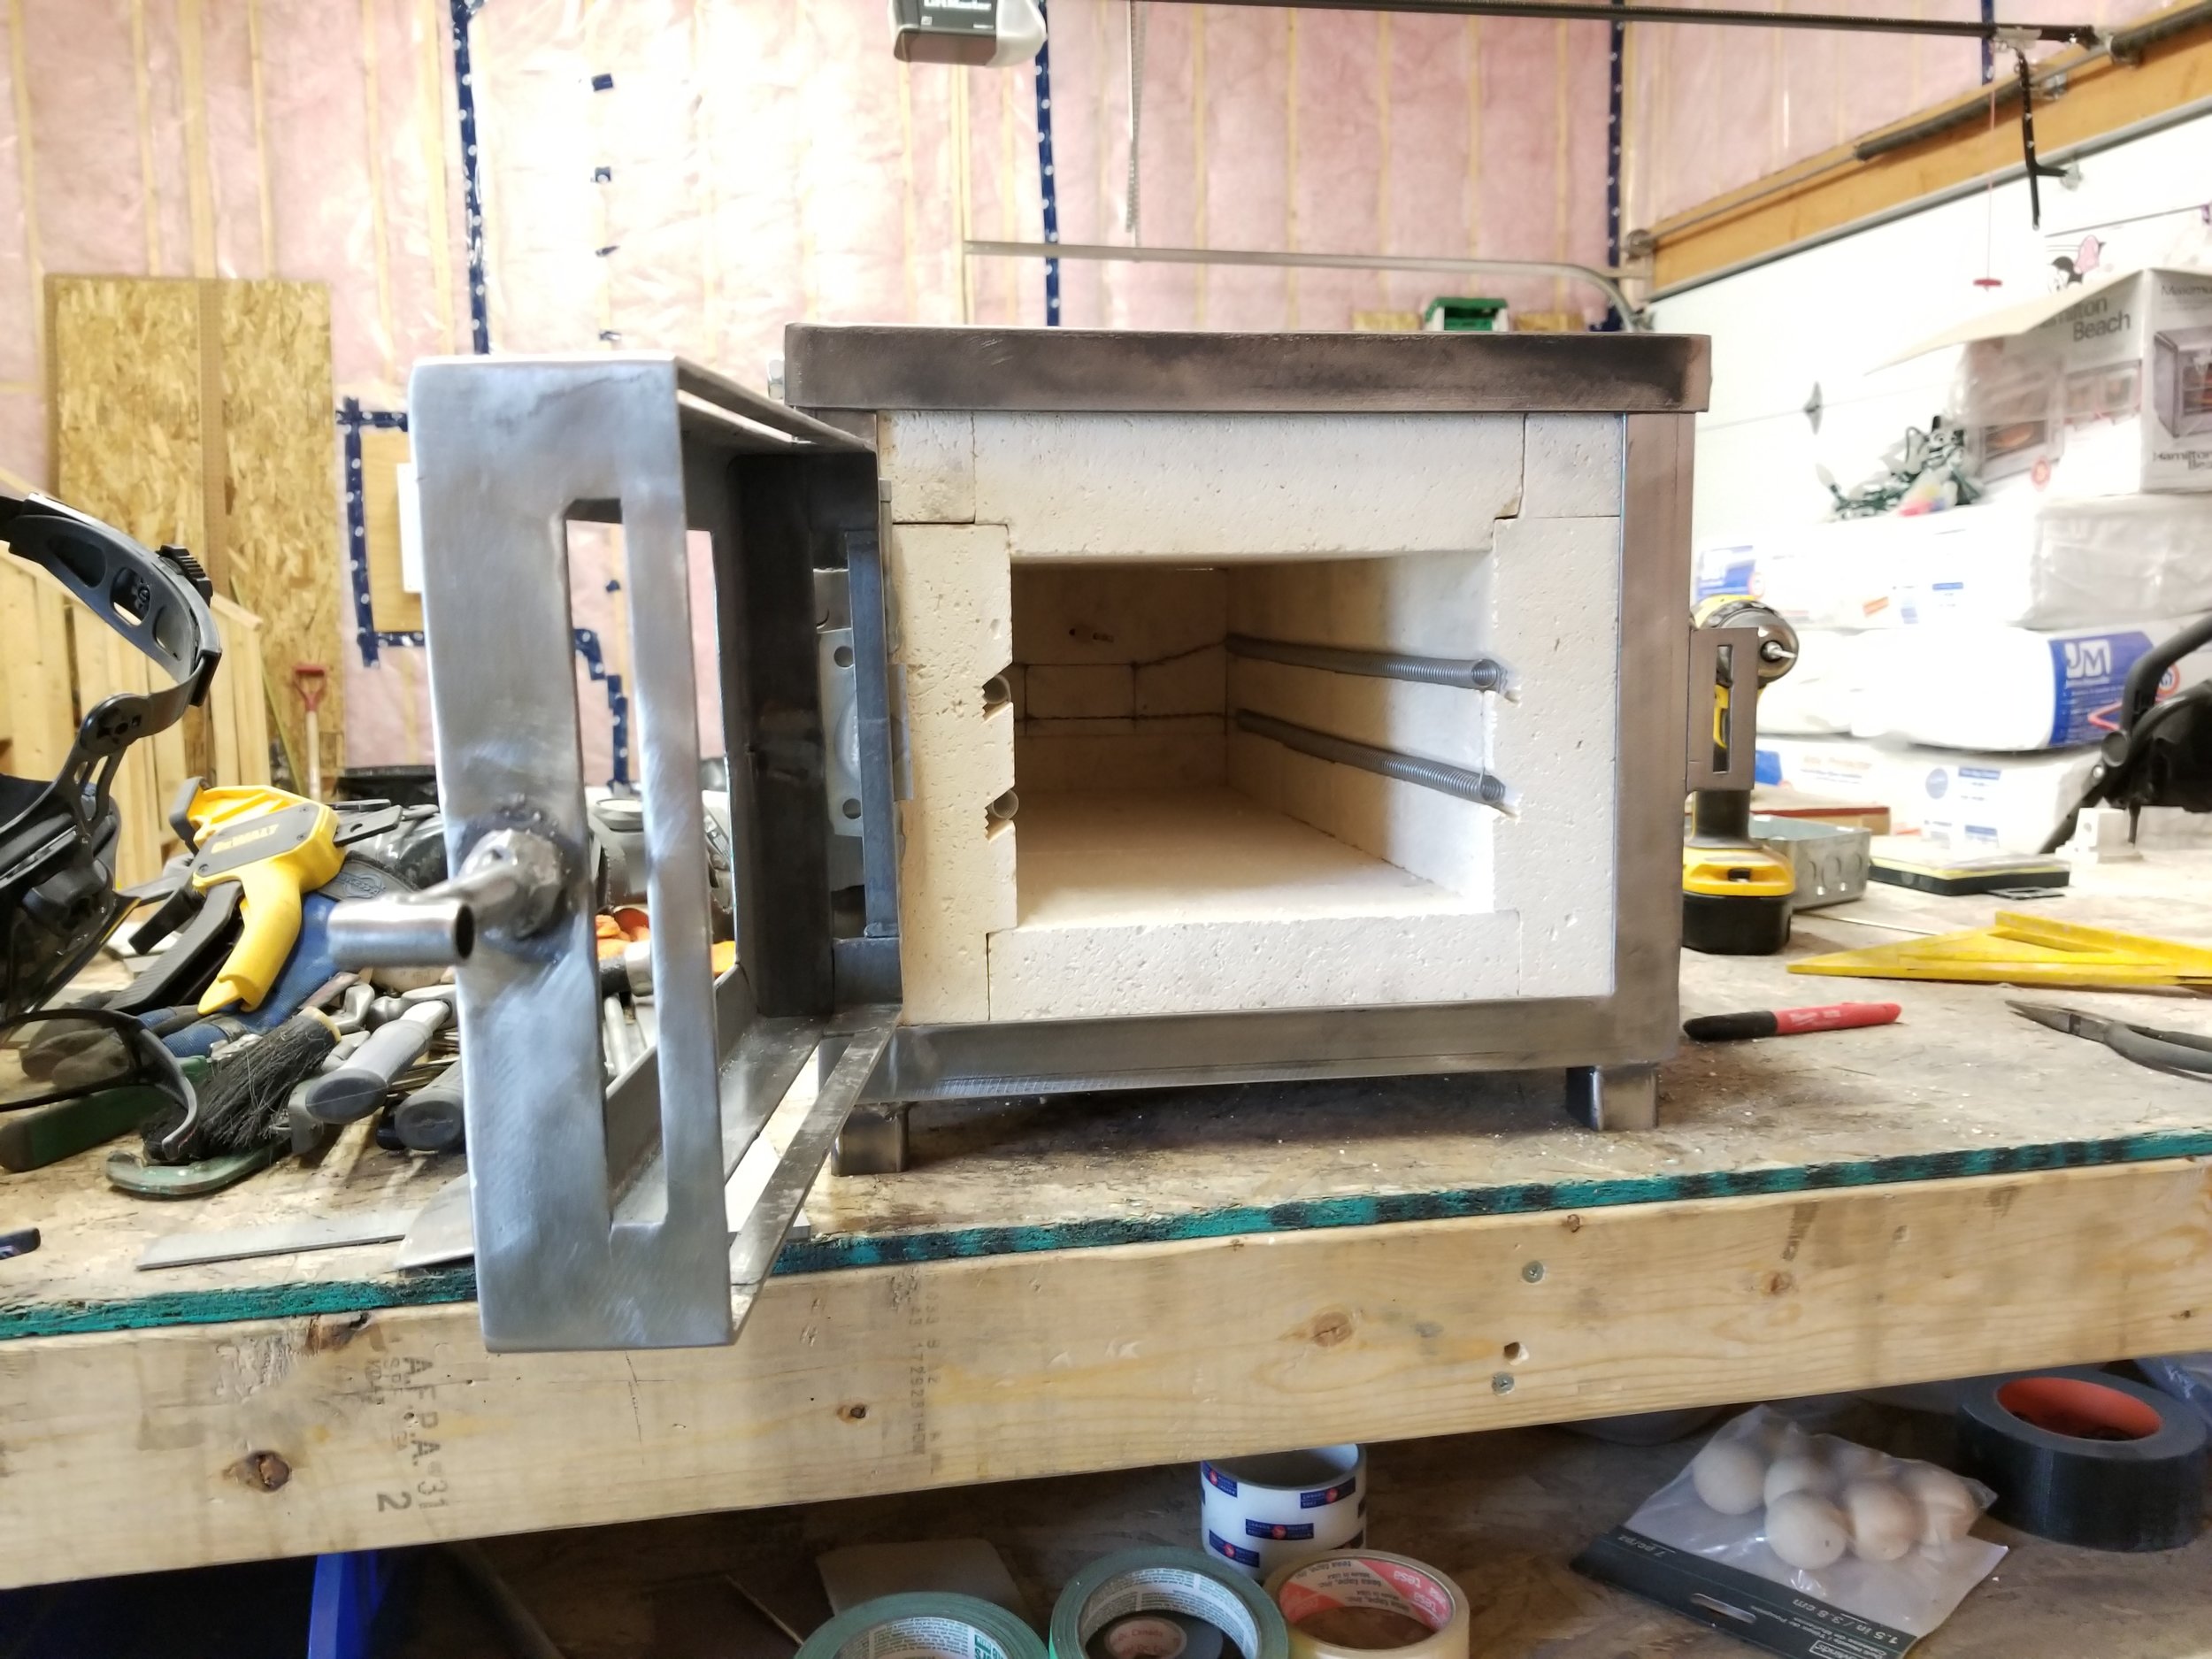
I used the KF18 specs as the guideline for my build. The KF18 has a chamber size of 10"x6.5"18", and is 3120 watts. After receiving my bricks, I started prototyping the layout to try and get that same chamber size.
Materials
With how I cut the channels in the brick, I ended up with a kiln that's 8"x6.5"x19.5". So a little less wide, but a little longer than the KF18. I wanted to maximize the watt output in the oven, so I had elements made for me by Pottery Supply House (psh.ca) that would output 3600 watts at 15 amps.
Most of the electrical system was sourced from Auber Instruments. I started piecing together what I needed, but then found a kiln kit they sold that would be perfect for my use. The kit ended up being cheaper as well. Auber Instruments provides a great set of instructions after purchasing the kit. These weren't totally necessary but was nice to have.
Frame started. Lid on top.
I built the frame from angle iron and flat stock steel. I wanted the ability to easily repair the oven in the future, so I made a removable roof, and door.
I wrapped the bricks in 1/2 inch 2600f fiber blanket. This gives it more insulation and adds a barrier between the firebricks and the skin of the oven. To make sure the door sealed properly, I used a 1/8" fiber paper gasket.
I debated whether to mortar the bricks together or not. The unit itself was very solid in all my dry fits. The bricks were interlocked together with cutouts and the fiber blankets helped push them together tightly. I ended up doing it, but I if I had the choice again, I wouldn't do it. I don't believe it was needed and actually made a mess on the freshly painted frame.
Door Attached
Having a young child, with another due in September, I needed a way of locking down the oven. I installed a key lock switch that cuts any ability to turn the oven on. Now I just can't lose the key.....
In my initial testing of the oven, I am incredibly happy with how it's performing. I will make subsequent posts when I have tested the oven in more detail. I am going to put together a video detailing the oven build and will include it in this post once it's completed.
So, would I do it again? 100% yes. It came together exactly how I envisioned it. I really couldn't be happier. Like most projects, hindsight is 20/20, and there will always be things to improve (noted below). Total build cost was around $1300CDN (full details below). Comparing to the KF18, it was half the cost and is actually more powerful.
Feel free to contact me with questions about the build. I am more than happy to share what I know and have learned.
Specs:
Chamber: 9”x6.5”x19.5"
220v, 3600W, 15amp
40a solid state relay
Ramp / Soak controller
Element cutout via a switch on the control panel
Keyed power control to keep little hands from playing with the oven
Materials:
36 IFB: $271
Auber Instruments electronics kiln kit: $483
Elements 240v, 3600W, 15g: 2x$47.00, $94.00
SEW 12g wiring: $12.60 (4 meters)
Element connectors: 4x$1.6, $6.40
2600f insulating fiber blanket: $36.65
1L Refractory mortar: $22.00
Metal: ~$200 (this is harder to track because I had some of what I needed already)
Hi-temp paint: 3x$18.00, $54.00
Insulating paper: 4x$4.99, $19.96
Dryer plug, 10 foot: $30.00
Random electrical (marrets, wiring, connectors, etc.): $30.00
Other randoms: $50.00
Total: ~1309.00CDN, prices include shipping costs.
Improvements:
TAP controller from SDS Industries.
Removing the locking receptacle that was used for the elements. The receptacle adds a lot of bulk to the unit, and in my case, it is not needed. Since I need a new enclosure for when I upgrade to the TAP controller, I will make this improvement then.
Adjustable door hinges. It would be great to be able to dial in the door fit without having to sand IFB's. I plan on remaking the door at some point that will allow for this fine adjustment.
Resources / Credit:
I researched the build for a couple months. I gathered a lot of resources that helped me out a lot. If you are thinking about building your own kiln, these resources will help tremendously.